
Transplanting
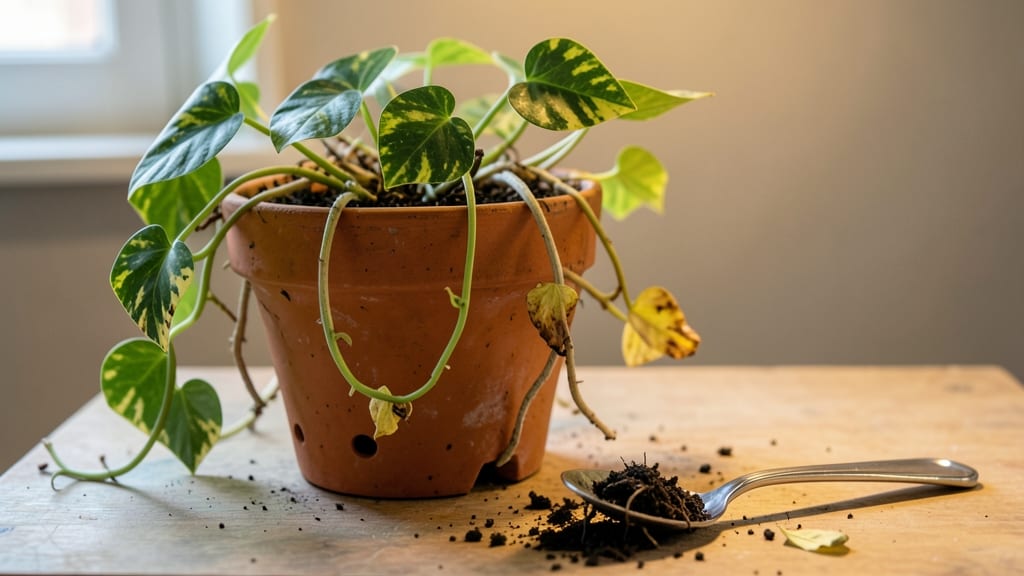
When your plant’s leaves turn yellow and the soil smells like a swamp, repotting overwatered roots is your best shot at revival. 🌱 I’ve nursed back more soggy-rooted plants than I’d like to admit—each time, the difference between saving and losing it comes down to three careful steps.
The key isn’t rushing; it’s diagnosing the damage first, then giving the roots fresh air, dry soil, and a chance to recover.
Start by inspecting the roots—healthy ones are firm and white, but overwatered roots turn black, mushy, and smell foul. Trim away the rotten parts with clean scissors, then choose a pot just 1-2 inches larger with drainage holes.
Use a fast-draining mix (cactus or succulent blend works well) to prevent future sogginess. Most plants bounce back within 2-4 weeks if you keep the soil lightly moist but never soggy.
After repotting, place your plant in bright, indirect light and avoid watering for 3-5 days to let any lingering rot heal. Humidity helps stressed roots—try a pebble tray or misting—but resist the urge to drown it again.
You’ll see new growth in leaves within a few weeks, and the roots will firm up as they adapt. The real secret? Checking soil moisture with your finger before watering ever again.
Prevention is simpler than rescue: water only when the top inch feels dry, and always use pots with drainage. I keep a small notebook by my plants to track watering days—it’s saved more than a few near-death cases.
Even black thumbs can master this; the trick is patience and paying attention to what the soil (not the plant) needs.
📚 In This Guide
- What you need
- Instructions
- Tips and common mistakes
- Wrapping up and next steps
What you need
- ● New pot: 1-2 inches larger in diameter than the current pot (with drainage holes—non-negotiable!)
- ● Well-draining potting mix: 2-3 bags (or enough to fill the new pot; avoid garden soil—it compacts and holds too much moisture)
- ● Clean, sharp pruners or scissors: 1 pair (sterilized with rubbing alcohol to prevent disease)
- ○ Gloved hands: 1 pair (optional but wise—root rot is not a fun tactile experience)
- ● Paper towels or a clean cloth: 2-3 sheets (for blotting excess moisture)
- ● Spray bottle with water: 1 (for gentle rehydration post-repotting)
- ○ Fungicide (optional but helpful): 1 small bottle (like hydrogen peroxide 3% or a commercial root rot treatment)
- ● Rooting hormone: 1 small tube (speeds up recovery for severely damaged roots)
- ● Perlite or orchid bark: 1 small bag (amends heavy soil for better aeration)
- ● Plant support (e.g., stakes or moss pole): 1 (if your plant is top-heavy or leggy)
- ● Humidity dome or plastic bag: 1 (creates a mini greenhouse to retain moisture while roots recover)
- ● Wait until the soil is slightly dry (but not bone-dry) to handle roots gently.
- ● Choose a day with mild temperatures (avoid repotting in extreme heat or cold).
- ● Have a trash bag ready for discarded, mushy roots—no need to salvage the unsalvageable!
Repotting overwatered plants: root revival in 3 simple steps
Here's how to rescue soggy roots and give your plant a fresh start—no guesswork, just action.
🪴 Step 1: Remove the Plant and Inspect the Roots
Gently squeeze the sides of the pot to loosen the root ball, then tip the plant out. You'll see the problem immediately—roots should be white or pale tan, but overwatered roots turn mushy, black, or smell foul. Hold the plant upside down and let excess soil crumble away with your fingers. Real talk: if more than half the roots look slimy or rotten, you're dealing with serious damage.
Trim away any black, mushy roots with clean scissors—don't worry, new roots will grow from the healthy white sections. I always sanitize my scissors with rubbing alcohol between cuts to prevent spreading any hidden pathogens. Once you've cleaned up the worst damage, give the roots a quick rinse under lukewarm water to remove remaining soil. Pat them dry with a paper towel before moving to the next step.
💧 Step 2: Prepare Fresh Potting Mix and a Clean Container
Fill a clean pot—one with drainage holes—that's only slightly larger than the current root ball with fresh potting mix. Here's the thing: overwatered plants need better drainage, so I always mix in a handful of perlite or coarse sand to improve aeration. Fill the pot to about 1 inch below the rim, leaving room for the root ball to sit above the soil line.
Press down lightly to settle the mix, but don't pack it. You want the soil to stay loose so roots can spread easily. I like to make a small well in the center with my finger—this helps position the plant correctly without burying the stem too deep. If your plant's stem looks buried, dig a deeper well to keep the base of the stem above soil level.
✂️ Step 3: Repot and Adjust Watering Habits
Place the plant in the well and spread the roots gently outward. Fill in around the sides with more potting mix, pressing lightly to eliminate air pockets. Stop when the soil reaches just below the base of the stem—burying stems too deep causes rot all over again. Water lightly but thoroughly until you see moisture trickle from the drainage holes. This ensures the soil makes good contact with the roots.
Here's the moment that matters: after repotting, wait 3-5 days before watering again. You're not being mean—you're letting the roots adjust. Stick your finger in the soil after that period. If the top inch feels dry, water deeply but only until water runs out the bottom. Overwatering again is the fastest way to undo all your hard work.
Tips & tricks for perfect root revival
A few key tricks will make all the difference when rescuing your overwatered plant—these are the lessons I learned after watching too many plants suffer from well-meaning overcare.
Root Inspection is Everything: In Step 1, when you're examining those soggy roots, pay special attention to the smell—foul odors mean active rot. I've seen plants that looked fine on the surface but had completely rotted roots underneath. If you're unsure about a root's condition, err on the side of trimming it. Healthy roots should feel firm and snap when bent, while rotten ones will squish between your fingers. Trust me on this: you can't save what's already gone.
Drainage is Non-Negotiable: When preparing your new pot in Step 2, make sure those drainage holes aren't just a suggestion—they're essential. I learned this the hard way with my fern collection. After repotting, place the pot in a saucer or tray, but always empty any collected water within 15 minutes. Stagnant water at the bottom of the pot creates the same conditions that led to root rot in the first place. Consider using a cache pot (a pot within a pot) if your current container lacks drainage—it creates a built-in reservoir while still allowing excess water to escape.
The 3-5 Day Rule is Sacred: That waiting period in Step 3 might feel cruel, but it's absolutely critical. I know it's tempting to check on your plant after just a couple of days, but those roots need time to establish themselves in their new environment. During this period, place your newly repotted plant in bright, indirect light—no direct sunlight until the roots have had time to recover. You'll notice the leaves might droop slightly at first, but this is normal and a sign the plant is adjusting.
Optional: Root Stimulator Boost: For an extra helping hand, consider adding a rooting hormone or natural stimulant to the water when you first repot. I often use a diluted seaweed extract solution (just follow package instructions) to give the roots a gentle energy boost. This isn't required, but it can help stressed roots establish more quickly, especially if your plant was severely damaged. Just don't overdo it—too much stimulant can be as harmful as too much water.
Pro Tips for Repotting Overwatered Plant
- A few key tricks will make all the difference when rescuing your overwatered plant—these are the lessons I learned after watching too many plants suffer from well-meaning overcare.
- Root Inspection is Everything: In Step 1, when you're examining those soggy roots, pay special attention to the smell—foul odors mean active rot.
- Drainage is Non-Negotiable: When preparing your new pot in Step 2, make sure those drainage holes aren't just a suggestion—they're essential.
Frequently asked questions
Got questions about saving your soggy, sad plant? You’re not alone—overwatering can turn even the greenest thumbs into panicked gardeners! Here are the most common concerns and straightforward answers to get your plant back on track.
How do I know if my plant needs repotting because of overwatering?
Check for these red flags: yellowing leaves, mushy stems, roots that smell foul or look black/mushy, or soil that stays clump together when squeezed (like a wet sponge). If your plant’s roots are suffocating in soggy soil, repotting is your best bet to save it!
Can I repot an overwatered plant right away, or should I wait?
Don’t wait too long—act fast! Trim any mushy roots immediately, then repot into fresh, well-draining soil. However, avoid repotting if the plant is severely stressed (e.g., wilting or completely root-bound). Let it recover for 1–2 days in dry soil first, then transplant.
What’s the best soil mix for repotting an overwatered plant?
Ditch the heavy, water-retentive soil! Opt for a chunky, airy mix with perlite, orchid bark, or coconut coir. For example:
Plant Type
Recommended Mix
Succulents/Cacti
60% cactus soil + 30% perlite + 10% pumice
Houseplants (e.g., pothos, snake plant)
50% peat-free potting mix + 30% perlite + 20% worm castings
Tropicals (e.g., ferns, calatheas)
40% peat moss + 30% orchid bark + 20% perlite + 10% charcoal
Pro tip: Add a handful of activated charcoal to prevent bacterial growth!
What if my plant’s roots are already rotted beyond saving?
Don’t lose hope! If most roots are mushy, you can still propagate healthy stem cuttings or leaves (if applicable). For example:
- Stem cuttings: Snip above a node, let dry for 1–2 hours, then root in water or fresh soil.
- Leaf cuttings: Place leaves in moist soil or water until roots form (great for plants like pothos or monstera).
It’s a fresh start—your plant might even thrive as a clone!
Will repotting shock my plant even more?
Yes, but it’s temporary! Repotting stress is normal, but you can minimize it by:
- Watering lightly only after 3–5 days (let roots adjust first).
- Avoiding direct sunlight for 1–2 weeks to reduce transpiration stress.
- Using a pot just 1–2 inches larger than the root ball to prevent overwatering again.
Monitor for drooping or yellowing—if it persists beyond 2 weeks, your plant may need extra humidity or fertilizer (like a diluted seaweed solution).
Wrapping up and next steps
Repotting an overwatered plant isn’t just about saving it—it’s about giving it a fresh start! 🌱 By following these three simple steps, you’ve already taken the most critical action to revive soggy roots and restore balance. Remember, patience and consistency are key as your plant recovers its strength.
Now that you’re equipped with the know-how, take the next step: monitor your plant’s progress closely and adjust care as needed. Whether it’s tweaking watering habits or optimizing light exposure, your green friend will thank you for the TLC! 💚