Propagation
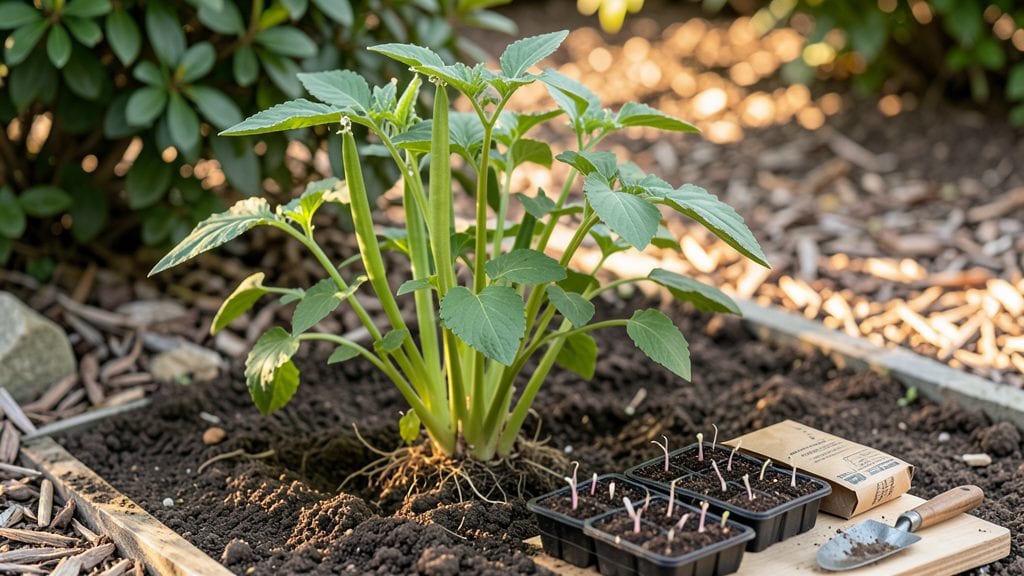
Planting ramp seeds is how you unlock a forest-floor flavor that grocery stores can't replicate—if you're willing to wait. 🌱 I've grown ramps from seed twice now, and while it takes patience, the payoff is worth every chilly season spent in the dark.
These wild onions thrive when they think winter never ends, so we're giving them exactly that.
The trick starts with cold stratification: seeds need 60-90 days in the fridge before planting, mimicking their natural cycle. You'll need a well-draining mix of 50% peat moss and 50% perlite, planted ¼-inch deep in 3-inch pots or directly in the garden.
Ramps do best in USDA zones 3-8, where they'll spread slowly over 3-5 years before you can harvest. Most gardeners give up and divide mature plants instead—but if you want to grow them from seed, this is the only way.
By spring, you'll see tiny green shoots pushing through the soil, though germination can be spotty. Keep the soil consistently moist but never soggy, and give them partial shade until established.
The first harvest won't come for years, but once they naturalize, you'll have a perennial patch that multiplies on its own. Every. Single. Spring.
Here's the thing—ramps are stubborn, but they're not impossible. If you're in a warmer zone, plant in late fall for a head start. If you're impatient (like I was), start with divisions from a friend's garden. Either way, the flavor is worth the wait.
📚 In This Guide
- What you need
- Instructions
- Tips and common mistakes
- Wrapping up and next steps
What you need
- ● Ramp seeds: 20–50 seeds (fresh or stored properly; germination rates improve with freshness).
- ● Cold stratification setup: A resealable plastic bag (quart-sized) or a small container with a lid (e.g., a deli container).
- ● Moisture: A damp paper towel, peat moss, or vermiculite (keep it evenly moist but not soggy).
- ● Growing medium: 1–2 gallons of well-draining potting mix (add perlite or sand for aeration).
- ● Containers: 4–6" deep pots or seedling trays (with drainage holes).
- ● Spray bottle (for gentle watering).
- ● Grow lights or sunny windowsill (12–16 hours of light daily post-stratification).
- ○ Heat mat (optional) (if your home dips below 60°F/15°C).
- ● Plant labels (to track seedling progress).
- ● Refrigerator or cold frame (for stratification; 32–40°F/0–4°C for 60–90 days).
Step-by-step instructions for planting ramp seeds
Here’s how I’ve perfected cold-stratifying ramps for reliable, flavorful harvests—no guesswork involved.
🌱 Step 1: Prepare the Seeds for Cold Stratification
Fill a small container with the 2 cups moistened peat moss and gently fold the seeds into the top inch, ensuring even distribution. The goal is to mimic winter’s natural chilling process, which breaks dormancy. Place the container in a sealed plastic bag and refrigerate for 8-12 weeks at 32-40°F. Check weekly—if the peat moss dries out, mist lightly with water.
This cold treatment is non-negotiable. Without it, ramp seeds often sit dormant indefinitely. I mark the bag with the date to avoid over-stratifying, which can weaken germination. After 8 weeks, transfer the container to a 50-60°F environment to kickstart sprouting.
💧 Step 2: Sow Stratified Seeds in Well-Draining Soil
Use the 1 gallon potting mix in a container with drainage holes—ramps despise soggy roots. Scatter the stratified seeds ¼ inch deep, spacing them 6 inches apart to allow room for their eventual clumps. Lightly cover with additional potting mix and water gently until the surface feels damp but not saturated.
Overcrowding leads to stunted growth, and ramps need space to develop their signature broad, flat leaves. I press the soil down lightly with my fingers to ensure good seed-to-soil contact. Place the container in a bright, indirect light spot—direct sun can dry out the soil too quickly at this stage.
☀️ Step 3: Acclimate Seedlings to Outdoor Conditions
Once seedlings reach 2-3 inches tall (after 6-8 weeks), harden them off by moving the container outdoors for 2-3 hours daily, gradually increasing exposure over 10-14 days. Choose a partially shaded spot—young ramps can’t handle full sun yet. Water every 2-3 days until the top inch of soil feels dry.
I watch for wilting as a sign of stress—if leaves droop, move the container back indoors for a day. Ramps thrive in USDA Zones 3-8, but if you’re in a warmer zone, keep them in partial shade until established. After hardening, transplant the clumps 12 inches apart in a well-draining garden bed or larger container.
✂️ Step 4: Maintain and Harvest for Peak Flavor
Ramps need moderate moisture—water weekly during dry spells, aiming for 1 inch of water per week. Mulch with 1 inch of straw to retain moisture and suppress weeds. Fertilize lightly in spring with ½ cup balanced fertilizer (10-10-10) to encourage leafy growth without overstimulating bulb development.
Harvest after 2 years when leaves reach 8-10 inches tall, cutting them 2 inches above the ground. The bulbs will regrow annually, producing stronger harvests each year. I avoid harvesting the first year—letting the plants establish ensures bigger, bolder flavors in future seasons.
Tips & tricks for perfect ramp seed planting
Cold-stratifying ramp seeds requires patience, but these pro tips will help you avoid common pitfalls and maximize your harvest's flavor potential.
Temperature Precision: The 8-12 week cold stratification at 32-40°F is critical—any warmer, and the seeds won't break dormancy properly. I use my refrigerator's crisper drawer (set to 38°F) for consistent results. If your fridge fluctuates, consider a dedicated seed stratification fridge or use a cool basement with stable temperatures. The goal is to mimic winter's natural chilling cycle exactly.
Moisture Management: During the 8-12 week stratification, check your peat moss weekly—it should feel like a damp sponge, not soggy. Overwatering can lead to mold, while dryness prevents proper moisture absorption. I use a spray bottle to mist lightly rather than soaking, which helps maintain even moisture without disturbing the seeds. After transferring to 50-60°F for sprouting, keep the peat moss just barely moist—ramps hate soggy conditions at any stage.
Lighting Strategy: For the 6-8 weeks after sprouting, bright indirect light is essential. I place my containers near an east-facing window where they get morning sun but avoid harsh afternoon rays. If using grow lights, position them 6-12 inches above the seedlings and use 12-14 hours of light daily. Too little light leads to leggy, weak seedlings, while too much can scorch young leaves.
Hardening Off: The 10-14 day hardening process is where most beginners struggle. Start with just 2-3 hours of outdoor exposure, then gradually increase by 30-60 minutes each day. I watch for subtle signs of stress—like slightly curled leaf edges—as indicators to slow down. For warmer climates, consider hardening off in the evening when temperatures are cooler, or use shade cloth to filter sunlight during the process.
Pro Tips for Planting Ramp Seeds
- Cold-stratifying ramp seeds requires patience, but these pro tips will help you avoid common pitfalls and maximize your harvest's flavor potential.
- Temperature Precision: The 8-12 week cold stratification at 32-40°F is critical—any warmer, and the seeds won't break dormancy properly.
- Moisture Management: During the 8-12 week stratification, check your peat moss weekly—it should feel like a damp sponge, not soggy.
Frequently asked questions
Got questions about planting ramp seeds? You’re not alone!
Cold-stratification can feel tricky, but we’ve got answers to help you grow like a pro. Here are some of the most common concerns—and how to tackle them.
What’s the best time to plant ramp seeds after cold-stratification?
Plant your cold-stratified seeds as soon as they’ve completed their 6–8 week chilling period in the fridge. Aim for early spring (March–April in most climates) to align with natural growing conditions. If you miss this window, store them in a damp paper towel in the fridge until next season.
Do I really need to cold-stratify ramp seeds? Can’t I just plant them directly?
Yes! Ramps (Allium tricoccum) have a hard seed coat that requires cold, moist conditions to break dormancy. Skipping stratification often leads to poor or no germination. If you’re impatient, try soaking seeds in warm water for 24 hours before stratifying—it can speed up the process slightly.
What’s the ideal temperature for cold-stratifying ramp seeds?
Keep your seeds in the fridge (34–40°F / 1–4°C) for the full 6–8 weeks. Avoid freezer temps (below 32°F / 0°C), as they can damage the seeds. A standard refrigerator’s crisper drawer works perfectly—just place them in a sealed bag with damp paper towels.
How deep should I plant ramp seeds, and what’s the best soil mix?
Plant seeds ½ inch deep in well-draining soil mixed with 30% compost. Ramps thrive in moist, slightly acidic soil (pH 6.0–7.0). A blend of garden soil, peat moss, and perlite mimics their woodland habitat. Keep the soil consistently damp (not soggy) until sprouts appear.
My ramp seeds aren’t germinating—what am I doing wrong?
Check these common pitfalls:
- Incomplete stratification: Ensure seeds got the full 6–8 weeks in cold, moist conditions.
- Poor soil contact: Seeds need direct soil contact—don’t bury them too deep.
- Overwatering: Soggy soil can rot seeds. Use a spray bottle to keep soil damp.
- Patience: Germination can take 4–12 weeks—don’t give up too soon!
Can I grow ramps in containers, or do they need a garden bed?
Yes! Ramps adapt well to large containers (at least 12 inches deep) with proper drainage. Use a deep pot with a mix of soil and compost, and place it in a shady to partially shaded spot. Just ensure the container stays consistently moist and isn’t moved frequently (ramps dislike disturbances).
Wrapping up and next steps
Planting ramp seeds might seem like a challenge, but with cold-stratification and patience, you’ll unlock a bold, flavorful harvest! 🌱 Whether you’re a first-timer or a seasoned gardener, these steps make it simple—just follow the process, stay consistent, and soon you’ll be savoring homegrown ramps. Ready to dive in? Start by gathering your supplies, then take that first step toward a thriving garden.
Your future meals (and taste buds) will thank you!
- Next up: Mark your calendar for planting season—ramps love cool weather, so act fast!
- Pro tip: Share your progress with fellow gardeners for extra motivation and tips!