Container Gardens
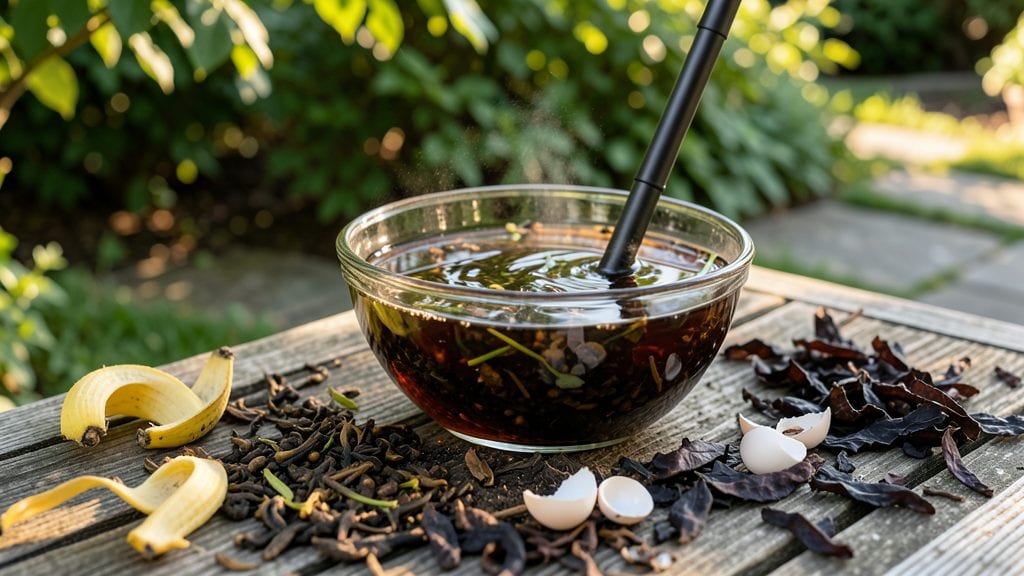
Planting tea bags transforms your kitchen scraps into free, nutrient-rich starters for herbs and flowers—no fancy supplies needed. 🌱 I first tried this after tossing out a bag of chamomile and realizing how wasteful it was.
That single experiment led to thriving basil and marigolds, all from something I’d normally throw away.
The best part? You don’t need anything special—just paper tea bags (no plastic tags!) and a little patience. Toss them into your compost pile, bury them in soil, or use them as seed starters for herbs like mint or flowers like pansies.
The tannins and nutrients give young plants a gentle boost, and the process is completely organic.
By the time your tea bags decompose, you’ll have stronger seedlings that establish faster and resist pests better. I’ve seen my tea-bag-grown herbs outperform store-bought transplants within weeks. The only rule? Avoid flavored or scented bags—they can introduce unwanted chemicals to your soil.
Works in containers, garden beds, or even hanging pots. Here’s how to get started without overcomplicating it—your garden (and wallet) will thank you.
📚 In This Guide
- What you need
- Instructions
- Tips and common mistakes
- Wrapping up and next steps
What you need
- ● Used tea bags – Any type (black, green, herbal, or fruit-infused). Aim for 3–5 tea bags per small pot or seed tray (or 10–15 for larger containers). ✨ Pro tip: Use organic, additive-free tea bags for best results!
- ● Small containers or seed trays – Yogurt cups, egg cartons, or biodegradable pots (3–4 inches deep). 1–2 containers per tea bag works well.
- ● Potting soil or compost – Light, well-draining mix. A 50/50 blend of potting soil and coconut coir or perlite is ideal.
- ● Water – Room-temperature, preferably filtered or rainwater to avoid chlorine.
- ● Spray bottle – For gentle watering without disturbing seeds.
- ● Tweezers or small spoon – To carefully place tea bags in soil.
- ● Clear plastic wrap or dome – Creates a mini greenhouse to retain moisture.
- ● Plant labels – To track what you’re growing (e.g., "Basil," "Marigold").
- ● Sunny windowsill or grow light – 6–8 hours of indirect light daily for optimal growth.
- ● Patience – Some herbs (like basil) may sprout in 7–14 days, while flowers (like marigolds) can take 2–3 weeks.
- ● Consistency – Keep soil moist but not soggy (water when the top inch feels dry).
- ● Sunlight access – A south-facing window or grow light is ideal.
Step-by-step instructions for planting tea bags as seed starters
Here's how to transform used tea bags into nutrient-rich seed starters—no soil or tools required.
🌱 Step 1: Select and Prepare Your Tea Bags
Choose organic, compostable tea bags from herbs or flowers like basil, parsley, chamomile, or borage—avoid flavored blends with oils or additives. After steeping, rinse the bag thoroughly under cool water to remove excess tannins, which can inhibit germination. Gently squeeze out moisture but don’t crush the bag; you want it damp, not soggy.
Cut the tea bag open along one edge with clean scissors, creating a 1-inch slit near the top. This exposes the seed paper inside while keeping the bag intact as a natural pot. The paper itself contains seeds—no need to remove them. Place the bag in a shallow dish or saucer to catch drainage.
💧 Step 2: Hydrate and Position for Germination
Fill a spray bottle with room-temperature water and mist the tea bag until the paper inside is evenly damp—like a wrung-out sponge. The bag’s fibers will start to soften and expand slightly. Place the bag in a bright, indirect light spot (a windowsill facing east or west works best) where temperatures stay between 65-75°F. Avoid direct sunlight, which can dry out the bag too quickly.
Check moisture daily by pressing the bag gently; it should feel damp but not dripping. If the paper dries out, mist again. You’ll see tiny green shoots in 7-14 days, depending on the herb or flower. Chamomile and borage germinate fastest, while parsley may take up to 3 weeks. This is your signal to move to the next step.
☀️ Step 3: Transplant Seedlings to Soil
Once seedlings have 2-3 true leaves (not just the initial sprout), they’re ready to move. Fill a small pot or cell tray with well-draining potting mix—I use a 50/50 blend of potting soil and perlite for airiness. Gently tear the tea bag open along the edges to release the seedling and its root ball. The bag’s fibers will decompose naturally over time, enriching the soil.
Plant the seedling ½ inch deeper than it grew in the tea bag, firming soil around the base. Water lightly to settle the roots, then place the pot in 4-6 hours of indirect sunlight for the first week to avoid transplant shock. After 7 days, gradually introduce it to its final light conditions—full sun for herbs like basil, or partial shade for flowers like chamomile.
🌿 Step 4: Maintain and Harvest
Keep the soil consistently moist but never soggy; tea-bag seedlings are delicate. Fertilize lightly 4 weeks after transplanting with a balanced liquid fertilizer (diluted to half strength) to compensate for the tea bag’s limited nutrients. You’ll notice stronger growth and darker green leaves within 2 weeks—this means the plant is thriving.
Harvest herbs like basil or parsley by snipping leaves from the top when they reach 3-4 inches tall, encouraging bushier growth. For flowers, let blooms develop fully before deadheading. The tea bag’s residual nutrients will support 1-2 harvests before the plant may need a boost from compost or fertilizer.
Tips & tricks for perfect tea bag seed starters
Here's what nobody tells you about maximizing your tea bag seed starters for the best germination and growth.
Selection Matters: Not all tea bags are created equal—stick to organic, compostable varieties specifically labeled for herbs or flowers. Avoid flavored blends with oils or artificial additives, which can inhibit germination. I've found that basil and chamomile tea bags consistently yield the fastest and healthiest seedlings, while parsley may take slightly longer to show results. The key is in the seed paper quality, which varies by brand.
Moisture Management: The 7-14 day germination window depends entirely on maintaining consistent moisture. Use a spray bottle to mist the tea bag until it feels like a wrung-out sponge—not dripping, not bone-dry. I place mine on a shallow dish to catch excess water, which prevents soggy bags that can rot. In 65-75°F conditions, you should see those first tiny sprouts within two weeks for most herbs.
Light Strategy: Bright, indirect light is non-negotiable—direct sunlight will dry out your tea bag too quickly, while too little light delays germination. I position mine on an east-facing windowsill where they get morning sun but avoid harsh afternoon rays. If you don't have good window light, a simple LED grow light on a timer for 12-14 hours daily works wonders. The goal is to mimic natural conditions without stressing the delicate seedlings.
Transplant Timing: Wait until you see 2-3 true leaves before transplanting, not just the initial sprout. This ensures the seedling has developed a strong enough root system to handle the move. When you do transplant, that ½ inch deeper placement is crucial—it encourages root growth downward rather than staying shallow. The tea bag fibers will decompose naturally, adding nutrients to your soil as they break down over time.
Pro Tips for Planting Tea Bags
- Here's what nobody tells you about maximizing your tea bag seed starters for the best germination and growth.
- Selection Matters: Not all tea bags are created equal—stick to organic, compostable varieties specifically labeled fo...
- Moisture Management: The 7-14 day germination window depends entirely on maintaining consistent moisture. Use a spray...
Frequently asked questions
Got questions about planting tea bags?
You’re not alone—this zero-cost gardening hack sparks curiosity! Here are answers to the most common queries to help you grow with confidence.
Can I use any tea bag for planting?
Stick to organic, biodegradable tea bags made from paper (no plastic stitching!). Avoid flavored teas with oils or artificial additives—they can harm seedlings. Plain black, green, or herbal teas work best for herbs and flowers like basil, parsley, or marigolds.
How long does it take for seeds to sprout in a tea bag?
Germination time varies by plant, but most tea-bag seeds sprout in 7–21 days. Keep the soil moist (not soggy) and place the bag in bright, indirect light. If nothing appears after 3 weeks, try a fresh tea bag or check for mold (a sign of overwatering).
What herbs or flowers grow best from tea bags?
Tea bags work best for fast-growing, small-seeded plants. Top picks:
- Basil (from black tea bags)
- Parsley (green tea)
- Chives or garlic chives (herbal teas)
- Marigolds or nasturtiums (some floral varieties)
Pro tip: Avoid tea bags for large seeds (like sunflowers) or delicate blooms—they need more space.
Why did my tea-bag plants turn yellow or wilt?
Yellowing or wilting usually means overwatering, poor drainage, or weak light. Let the soil dry slightly between waterings, and move the bag to a sunnier spot (4–6 hours of light daily). If mold appears, discard the bag and start fresh with a new one.
Is planting tea bags eco-friendly?
Yes! Tea bags compost naturally (when organic), reducing waste. However, plastic-coated bags don’t break down—so always opt for paper. For extra sustainability, reuse the bag’s string as plant ties or compost the whole thing after planting.
What if I don’t have tea bags—are there alternatives?
No tea bags? No problem! Try these zero-cost seed starters:
- Eggshells (for tiny seeds like lettuce)
- Toilet paper rolls (cut into strips)
- Coffee filters (for moisture control)
- Mushroom compost (from grocery stores)
Bonus: Save used coffee grounds too—they’re nutrient-rich for seedlings!
Wrapping up and next steps
Planting tea bags is a creative, budget-friendly way to grow herbs and flowers with zero waste! Whether you’re a gardening newbie or a seasoned green thumb, this method proves that sustainability and simplicity go hand in hand. 🌱
Ready to turn your kitchen scraps into a thriving garden? Start small—pick one or two tea bag varieties, follow the steps, and watch your plants bloom. Share your progress with fellow gardeners or even gift your homegrown herbs to friends! 🌸
Next up: Experiment with other compostable materials like egg cartons or coffee grounds to expand your zero-waste gardening skills. Happy planting! 🌿