
Trees
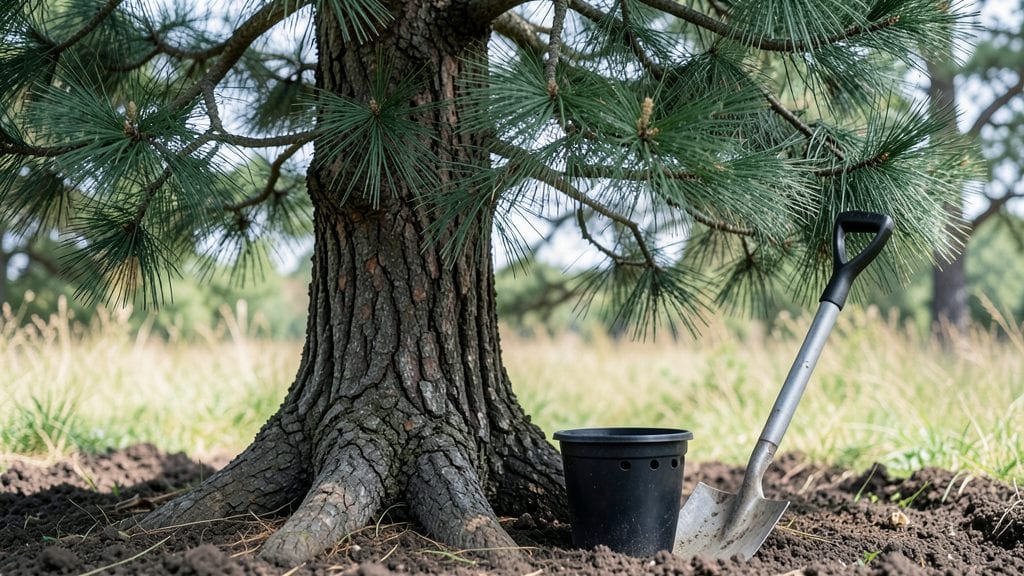
Planting evergreen trees transforms your yard from seasonal to stunning all year. 🌲 I planted my first row of arborvitae last fall, and by spring, the dense green wall blocked neighbors' views—and the wind—completely.
The key isn't just digging a hole; it's prepping the soil, spacing for mature size, and giving roots the right start.
You'll need basic tools—a shovel, gloves, and a 5-gallon bucket of water per tree—and the right spot with 6+ hours of sun (or shade, depending on variety). Most evergreens thrive in well-draining soil, but amending with compost gives them a head start.
Spacing matters too: plant conifers 4-8 feet apart depending on their mature width.
After planting, water deeply to settle roots, then mulch with 3 inches of wood chips** to lock in moisture. The first year is critical—keep soil consistently damp but not soggy.
By year two, your trees will establish roots deep enough to handle drought and winter winds, giving you that lush, low-maintenance screen you envisioned.
Works for privacy screens, windbreaks, or even single statement trees. The secret? Pay attention to root flare and avoid overwatering—both kill more evergreens than pests ever will. Let's get those trees growing strong!
📚 In This Guide
- What you need
- Instructions
- Tips and common mistakes
- Wrapping up and next steps
What you need
- ● Evergreen saplings: Choose 2–5 healthy, disease-free trees (species like Thuja occidentalis, Pinus strobus, or Juniperus virginiana work well). Quantity depends on spacing (aim for 6–10 feet apart for mature size).
- ● Shovel: A digging shovel (16–18") for planting holes and a hand trowel for soil adjustments.
- ● Measuring tape: To mark spacing and hole depth (typically 2–3x the root ball width and slightly deeper than the container).
- ● Garden gloves: Heavy-duty to protect hands from thorns or rough bark.
- ● Watering can or hose: With a gentle spray nozzle for post-planting hydration.
- ● Mulch: 3–4 inches of organic mulch (pine straw, wood chips, or shredded bark) to retain moisture and suppress weeds.
- ○ Soil amendment (optional): Compost or peat moss (1 part amendment to 3 parts native soil) if your soil is clay-heavy or sandy.
- ● Site assessment: Test soil pH (ideal: 5.0–7.0 for most evergreens) and sunlight exposure (full sun to partial shade).
- ● Permits (if needed): Check local regulations for large trees or protected species.
- ● Weather check: Plant on a cool, cloudy day or early morning to reduce transplant shock.
- ○ Staking (optional): 3–4 ft bamboo stakes + soft tree ties for young, top-heavy trees in windy areas.
Step-by-Step guide for planting evergreen trees
Here’s the method I’ve used to establish healthy, long-lived evergreens that thrive year after year.
🌱 Step 1: Choose the Right Location and Prepare the Site
Evergreens need full sun to partial shade—at least 6 hours of direct sunlight daily for optimal growth. Avoid low-lying areas where cold air settles, as these spots can damage roots in winter. I always test the soil pH first; most evergreens prefer slightly acidic soil (pH 5.0-6.5).
Clear the planting area of weeds, rocks, and debris within a 3-foot radius around the hole. Loosen the soil with a shovel or garden fork to a depth of 12-18 inches, breaking up any compacted layers. This ensures roots can spread easily without resistance. If your soil is heavy clay, mix in 2-3 inches of compost to improve drainage and aeration.
🪴 Step 2: Dig the Hole and Plant at the Correct Depth
Dig a hole twice as wide as the root ball but only as deep as the root ball itself—planting too deep suffocates roots, while too shallow leaves them exposed. Evergreens have shallow but wide-spreading roots, so a broad hole encourages strong establishment. Gently remove the tree from its container and loosen any circling roots with your fingers.
Place the tree in the hole so the top of the root ball sits level with the surrounding soil—never mound soil against the trunk. Backfill with the native soil you removed, tamping lightly every 4-6 inches to eliminate air pockets. Water deeply to settle the soil, then add a 2-inch layer of mulch (avoiding direct contact with the trunk) to retain moisture and regulate temperature.
☀️ Step 3: Water and Stake for Stability
Water the newly planted tree deeply right after planting, then again every 2-3 days for the first 4-6 weeks until the root system establishes. Evergreens are drought-tolerant once mature, but young trees need consistent moisture to avoid stress. I use a soaker hose or drip irrigation to deliver water slowly at the base, avoiding wetting the foliage.
Stake only if necessary—most evergreens don’t need support unless they’re in a windy location. If staking, use two stakes positioned diagonally and secure the tree with soft ties (like tree straps) to prevent trunk damage. Remove stakes after 12 months to avoid girdling. Watch for needle browning or wilting—a sign of overwatering or poor drainage.
✂️ Step 4: Prune and Maintain for Long-Term Health
Prune only to remove dead, damaged, or crossing branches—never to shape young evergreens. Use clean, sharp pruners to make cuts just outside the branch collar. The best time to prune is late winter or early spring, just before new growth begins. Avoid heavy pruning, as evergreens grow slowly and may not recover well from aggressive cuts.
Fertilize lightly in early spring with a slow-release, balanced fertilizer (10-10-10 or similar). Over-fertilizing causes salt buildup in the soil, which burns roots. Monitor for pests like spider mites or bagworms, treating early with neem oil or insecticidal soap if needed. Evergreens are low-maintenance once established, but consistent care in the first 2-3 years ensures they reach their full potential.
Tips & tricks for perfect evergreen planting
These game-changing strategies will help you establish evergreens that thrive for decades—not just years.
Soil Preparation Secret: The 12-18 inch soil loosening in Step 1 isn't just about breaking up dirt—it's about creating an oxygen-rich zone for roots. I like to use a garden fork to gently break up compacted layers rather than digging aggressively, which can damage the root structure. For heavy clay soils, mix in that 2-3 inches of compost right into the loosened soil, not just at the bottom of the hole. This creates a gradual transition that roots will follow naturally.
Root Ball Handling Technique: When removing the tree from its container in Step 2, resist the urge to squeeze the root ball to check for circling roots—this can cause more damage than good. Instead, run your fingers gently along the outer edges while the root ball is still moist. The roots will naturally pull away from the container if they're circling. If you find tight roots, use your fingers to carefully separate them rather than cutting, which can leave jagged edges that heal poorly.
Watering Strategy: That initial deep watering right after planting isn't just about hydration—it's about settling the soil around the roots. I recommend using a soaker hose for 20-30 minutes to ensure water penetrates deeply without creating surface runoff. The every 2-3 days schedule in Step 3 should be adjusted based on rainfall—if you get consistent rain, you can stretch to every 4-5 days. Always check by sticking your finger 2 inches into the soil; it should feel moist but not soggy.
Mulching Wisdom: The 2-inch mulch layer serves two critical purposes: moisture retention and temperature regulation. I prefer using shredded bark mulch because it breaks down slowly and improves soil structure over time. The key is keeping it 2-3 inches away from the trunk to prevent moisture buildup that can cause rot. In winter, a slightly thicker layer (3-4 inches) provides extra insulation against temperature fluctuations that can stress young evergreens.
Pro Tips for Planting Evergreen Trees
- These game-changing strategies will help you establish evergreens that thrive for decades—not just years.
- Soil Preparation Secret: The 12-18 inch soil loosening in Step 1 isn't just about breaking up dirt—it's about creating an oxygen-rich zone for roots.
- Root Ball Handling Technique: When removing the tree from its container in Step 2, resist the urge to squeeze the root ball to check for circling roots—this can cause more damage than good.
Frequently asked questions
Got questions about planting evergreens? You’re not alone! Here are some of the most common concerns—and their answers—to help you get started with confidence.
What’s the best time of year to plant evergreen trees?
The ideal window is early fall to late winter (before buds swell in spring). This gives roots time to establish before summer heat. Avoid planting in extreme cold or drought. Pro tip: If planting in spring, water deeply and mulch to retain moisture!
How much water do newly planted evergreens need?
Water deeply 2–3 times per week for the first year, soaking the root zone (12–18 inches down). After that, reduce to weekly deep waterings unless your area has prolonged dry spells. Overwatering can suffocate roots—always check soil moisture before watering again.
Can I plant evergreens in containers or small spaces?
Yes! Dwarf or columnar varieties (like Thuja ‘Green Giant’ or Picea pungens ‘Glauca Globosa’) thrive in containers or tight spots. Use well-draining soil and upgrade pots every 2–3 years. Bonus: Container evergreens can be moved seasonally for optimal sunlight!
Will evergreens survive in my climate if I live in a hot/dry or cold region?
Choose drought-tolerant species (e.g., Juniperus or Pinus) for arid areas, or cold-hardy types (e.g., Picea or Abies) for freezing zones. Always check the USDA Hardiness Zone for your tree’s specific needs.
Why is my evergreen turning brown after planting?
Brown needles often signal transplant shock, drought, or root damage. Check for:
- Underwatering (water deeply and mulch)
- Overwatering (let soil dry slightly between waterings)
- Sunburn (acclimate slowly to full sun)
- Fungal issues (prune affected branches, avoid overhead watering)
Most trees recover in 1–2 seasons with proper care!
Wrapping up and next steps
Planting evergreen trees is a rewarding way to add year-round beauty, privacy, and wind protection to your property. Whether you're a seasoned gardener or a beginner, choosing the right species, preparing the soil, and providing proper care will ensure lush, thriving growth. 🌲✨
Now that you’re equipped with the knowledge, roll up your sleeves and get planting! Start by selecting a few evergreens that suit your climate and space—then watch your outdoor space transform into a serene, ever-green haven. Happy planting!