Size
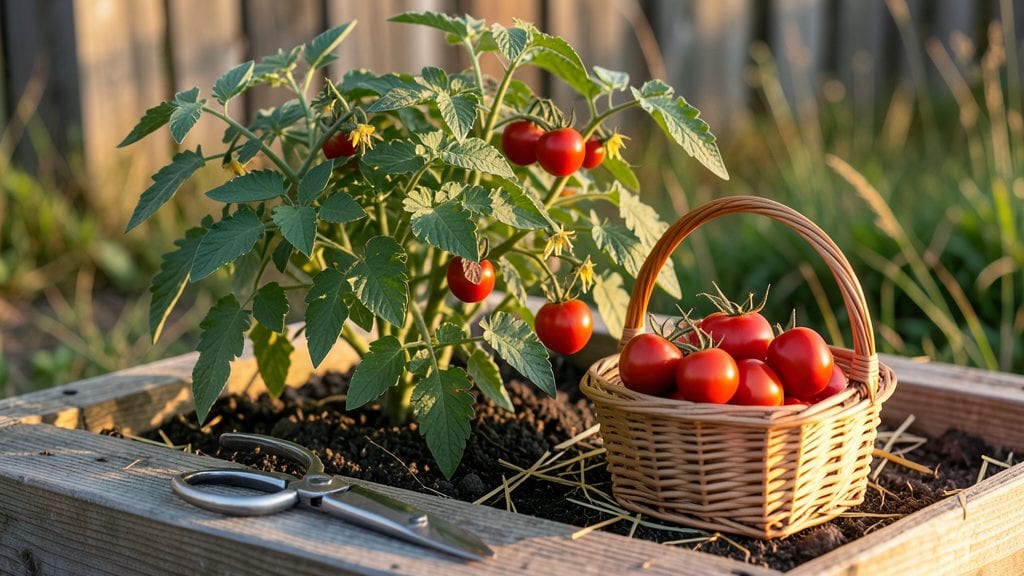
Growing food from plants in small spaces changed everything about how I eat. 🌱 That first crisp homegrown tomato, plucked straight from a balcony pot, made me realize you don’t need a backyard to grow your own meals.
The key isn’t just space—it’s sunlight, soil, and a few smart choices about what to plant.
I started with herbs on my kitchen windowsill, then moved to dwarf tomato varieties in 5-gallon buckets. The secret isn’t fancy equipment—it’s matching plants to containers, watering consistently, and using organic fertilizer to keep soil rich without taking up space.
Even in an apartment, you can grow enough to supplement meals year-round.
By summer’s end, you’ll be harvesting leafy greens, bush beans, and compact peppers that actually taste better than store-bought. The best part? No weeding, no bending over, and no wasted space. This method works for any climate, from sunny balconies to north-facing patios with grow lights.
Here’s where it gets interesting—some plants thrive in winter with the right setup, while others need a quick summer rotation. I’ll show you which crops play well together and how to troubleshoot the most common early-stage problems before they become disasters.
📚 In This Guide
- What you need
- Instructions
- Tips and common mistakes
- Wrapping up and next steps
What you need
- ● Containers: 5–10 pots or grow bags (5–10 gallons each) with drainage holes. Tip: Use recycled containers (clean yogurt cups, buckets) if drainage is added!
- ● Growing Medium: 1–2 bags of high-quality blank">potting mix (sterile, peat-free, or coco-coir based). Avoid garden soil—it’s too dense!
- ● Seeds or Seedlings: 5–10 packets of blank">fast-growing seeds (e.g., lettuce, herbs, microgreens, radishes, or cherry tomatoes). Pro tip: Start with heirloom or organic seeds for better flavor!
- ○ Optional: 2–3 pre-sprouted seedlings (kale, spinach, or basil) for instant harvests.
- ● Watering Supplies: 1 watering can (1–2 gallons) with a rose attachment for gentle watering.
- ○ Optional: A blank">self-watering kit or moisture meter to keep roots happy.
- ● Basic Tools: 1 pair of blank">pruning shears (for harvesting and trimming).
- ● 1 small blank">hand trowel (for transplanting or mixing soil).
- ● 1 blank">spray bottle (for misting seedlings or humidity-loving plants like basil).
- ● Grow Lights (Indoor Setups): 1–2 blank">LED grow lights (10W–20W per plant) on a timer (12–16 hours/day). Pro tip: Place lights 6 inches above plants for optimal growth!
- ● Support Structures: 2–3 blank">tomato cages or blank">bamboo stakes (for vining plants like cucumbers or peas).
- ○ Optional: A blank">vertical trellis to save space!
- ● Space: At least 3–5 square feet of dedicated area (sunny windowsill, balcony railing, or under-cabinet shelf).
- ● Light: Outdoor: 6+ hours of direct sunlight daily (south-facing is ideal).
- ● Indoor: A sunny window or grow lights (as listed above).
- ● Climate Control: Consistent temperature (60–75°F). Use a blank">heating mat in winter or a blank">fan in summer if needed.
- ● Humidity: A pebble tray with water (for tropical plants like basil or mint).
- ● Time: 10–15 minutes daily for watering, checking light, and harvesting!
Step-by-Step instructions for growing food in compact spaces
Here's how to turn even the smallest space into a productive food garden.
🪴 Step 1: Choose the Right Containers for Your Space
Start with containers that fit your space but offer at least 6 inches of depth for root growth. I recommend using the 4 large fabric grow bags for tomatoes, peppers, or bush beans—they're lightweight, allow roots to breathe, and prevent waterlogging. For leafy greens and herbs, the 6 small ceramic pots work perfectly on windowsills or balconies.
Make sure each container has drainage holes—this prevents root rot and keeps plants healthy. If your containers don't have holes, drill them yourself using a small drill bit. Place a piece of mesh or a coffee filter over each hole to keep soil in while allowing excess water to escape.
🌱 Step 2: Prepare Soil and Plant Your Seeds or Transplants
Fill each container with the 10 gallons of premium potting mix, leaving about 1 inch of space at the top. Moisten the soil lightly with water until it feels like a damp sponge—you shouldn’t see puddles, but it should hold together when squeezed gently.
For the 4 seed packets, follow the planting depth guidelines on the packet (usually twice the seed diameter). If using transplants, dig a hole slightly larger than the root ball and place the plant at the same depth it was growing before. Gently press the soil around the base to secure it, then water again to settle everything in.
☀️ Step 3: Position for Maximum Sunlight and Airflow
Most food plants need at least 6 hours of direct sunlight daily. Place your containers where they’ll get the most sunlight—south-facing windows or balconies are ideal. If you're using the adjustable grow light stand, set it up to provide 12-14 hours of light per day if natural light is limited.
Arrange containers so they have good airflow around them—this reduces the risk of fungal diseases. Space them about 6-12 inches apart, depending on the plant’s mature size. Rotate the containers every few days to ensure even growth and prevent plants from leaning toward the light.
💧 Step 4: Water and Fertilize for Consistent Growth
Water your plants when the top 1 inch of soil feels dry to the touch. Use the 1-gallon watering can to water deeply at the base of each plant, avoiding the leaves to prevent disease. In the morning, water slowly until it drains out the bottom, ensuring roots get enough moisture without sitting in water.
Every 2 weeks, mix 1 tablespoon of slow-release fertilizer into the top inch of soil for each container. This keeps your plants fed without overloading them. You’ll notice healthier leaves and better yields if you stick to this schedule.
✂️ Step 5: Prune and Harvest for Continuous Production
Use the small pruning shears to pinch off any yellow or damaged leaves to encourage new growth. For plants like basil or lettuce, harvest the outer leaves first—this keeps the plant producing while giving you fresh food. Harvest in the morning when flavors are at their peak.
If your plants start to flower too early (like in lettuce or herbs), snip off the flower buds to delay bolting and extend your harvest time. Regular pruning also improves airflow, which keeps your plants healthier and more productive.
Tips & tricks for perfect plant-based food growing in compact spaces
Even the smallest space can yield a bountiful harvest—here's how to maximize your compact garden's potential without common pitfalls.
Container Depth Matters: Those 6 inches of depth in Step 1 are non-negotiable for root development. For heavy feeders like tomatoes, add a 2-inch layer of compost to the bottom of your fabric grow bags before adding potting mix. This gives roots extra room to establish while preventing waterlogging at the bottom.
Lighting Strategy for Limited Sun: When using your adjustable grow light stand for 12-14 hours of light, position it just 6-8 inches above the plants. Too high, and the light spreads too thin; too low, and you risk burning tender leaves. I use a timer to automate this—plants thrive on consistency without extra effort from me.
Soil Moisture Secret: The "damp sponge" test in Step 4 works best when you check soil moisture at the same time daily—morning is ideal. For the 1-gallon watering can, I add a few drops of dish soap to reduce surface tension and help water penetrate dry soil more effectively. This prevents crusting that can block water absorption.
Pruning for Productivity: Don't wait for leaves to turn yellow before pruning in Step 5. I make it a habit to inspect plants every 3-4 days and remove any leaves that look even slightly off-color. This prevents disease spread and encourages the plant to focus energy on producing food rather than repairing damaged foliage.
Pro Tips for Plant Grow Food
- Even the smallest space can yield a bountiful harvest—here's how to maximize your compact garden's potential without common pitfalls.
- Container Depth Matters: Those 6 inches of depth in Step 1 are non-negotiable for root development.
- Lighting Strategy for Limited Sun: When using your adjustable grow light stand for 12-14 hours of light, position it just 6-8 inches above the plants.
Frequently asked questions
Got questions about growing your own plant-based food in small spaces?
You’re not alone! Here are answers to common concerns to help you grow confidently—no matter the season or setup.
Can I grow food indoors year-round with limited sunlight?
Use grow lights (LED or fluorescent) for 12–16 hours daily. Leafy greens (like spinach or kale) and herbs thrive with minimal light, while tomatoes or peppers need stronger bulbs. Place plants near south-facing windows for extra natural light, and rotate them weekly for even growth.
How long does it take to harvest food from seeds?
Harvest times vary widely:
- Fast growers: Microgreens (7–14 days), radishes (3–4 weeks), green onions (4–6 weeks).
- Medium-term: Lettuce (6–8 weeks), basil (6–8 weeks), bush beans (50–60 days).
- Longer projects: Tomatoes (60–85 days), peppers (75–90 days), carrots (70–80 days).
Check seed packets for days-to-harvest guidelines and use a planting calendar to stagger crops for continuous yields.
What’s the most budget-friendly way to start growing food?
Skip expensive setups! Start with:
- Containers: Repurpose buckets, yogurt cups, or old gutters (just drill drainage holes!).
- Seeds: Buy heirloom or open-pollinated seeds in bulk online or swap with local gardeners.
- Soil: Mix compost with coconut coir or use free yard waste (sterilized in a hot oven for 30 mins).
- Light: Use a DIY grow light (e.g., a clamp lamp with a full-spectrum bulb) for under $20.
Focus on high-yield, low-cost crops like beans, potatoes, or herbs.
How do I keep pests away without chemicals?
Prevent pests naturally with these tricks:
- Use companion planting (e.g., basil near tomatoes to repel flies).
- Spray neem oil (1 tsp per cup of water) weekly as a fungicide and insect deterrent.
- Introduce beneficial insects like ladybugs or lacewings to eat aphids.
- Inspect plants daily and remove affected leaves immediately.
For soil pests, try diatomaceous earth (food-grade) around plant bases.
What’s the best temperature range for indoor food plants?
Most edible plants prefer:
- Daytime: 65–75°F (18–24°C) for optimal growth.
- Nighttime: 55–65°F (13–18°C) to prevent stress.
- Avoid: Below 50°F (10°C) or above 85°F (29°C), which stunts growth.
Use a small fan for airflow (especially in humid spaces) and avoid placing plants near vents or drafts. Heat mats can help in cool climates for root development.
Wrapping up and next steps
Growing your own plant-based food in compact spaces isn’t just possible—it’s a rewarding adventure that brings fresh, homegrown goodness to your table year-round! 🌱 Whether you’re working with a tiny balcony, a sunny windowsill, or a cozy indoor grow setup, the key is starting small, staying consistent, and letting your green thumbs shine.
From leafy greens to flavorful herbs, every bite you harvest is a testament to your dedication—and a delicious step toward a more sustainable lifestyle.
Ready to take the next step? Pick one plant to grow this week—maybe a fast-growing microgreen or a hardy herb like basil—and watch your confidence (and harvest!) grow alongside it. Happy planting! 🌿